|
|
Home →
Survival →
Shelter →
Debris Hut
Debris hut made at a Standard
Class
at the Tracker School
(May 2004) |
| |
|
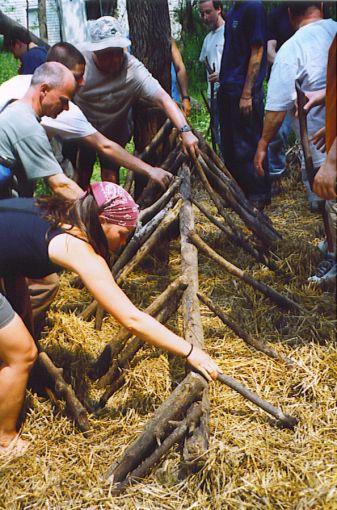 |
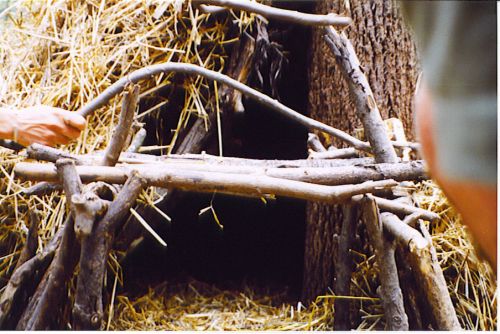
First step is to lay out the framework. One long ridgepole provides
the main frame. It can be propped against a convenient tree (as in
this case), or held up with a tripod of stout sticks, or some other
means. Then the sides of the shelter are placed, creating
a "tent-like" framework. | |
| |
|
 |
The main side pieces mostly in place. | |
| |
|
 |
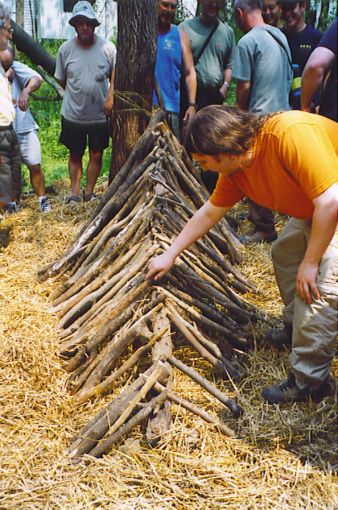
Then a "lattice-work" of smaller branches
is placed over the main framework. The purpose of this is to keep
the debris out of the shelter. | |
| |
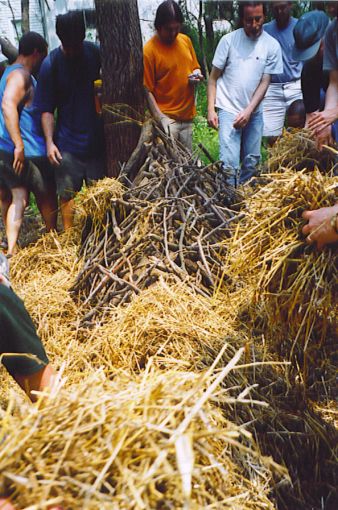 |
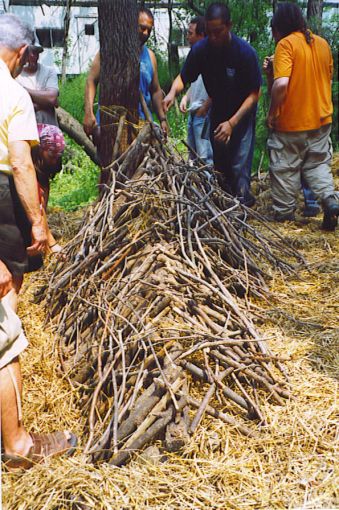
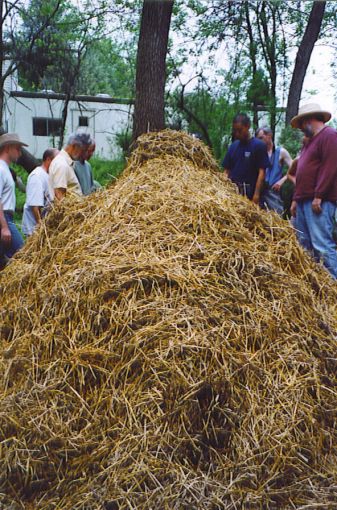
Debris is then piled on top of the lattice-work. At the Standard
Class, bales of hay are used because there is not enough debris
around to constantly build, demolish, and rebuild the shelter for
each class.
At a subsequent class, participants have the opportunity to build
a "real" debris hut for themselves to sleep in for the week, using
actual natural materials available in the forest. | |
| |
|
 |
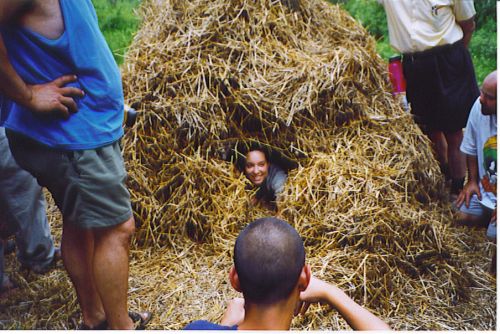
The entrance. This can be a tricky part. The purpose of
this is to keep the debris out of the doorway.
The occupant crawls in under this arch. | |
| |
|
 |
The finished debris hut, from behind (opposite the
entrance). | |
| |
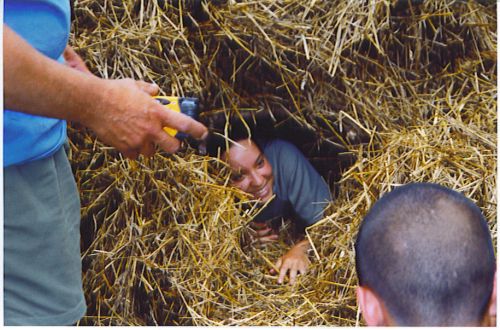 |
Occupied.
Note how the debris covering the shelter is kept away
from the entrance by the arch that was constructed earlier. | |
| |
|
 |
A farther-away view. Finished, and all ready for a good, warm
night's sleep. | |
|
All photos on this page are Copyright
© by Daniel Spuhler. Used with permission. |
|
|
|
|

