|
|
Home →
Survival →
Fire →
Bowdrill
How to Make a Starter Bowdrill Set
from
a Cedar Fencepost
by Walter Muma
Page 2 of 2
... Back to
Page 1 |
|
|
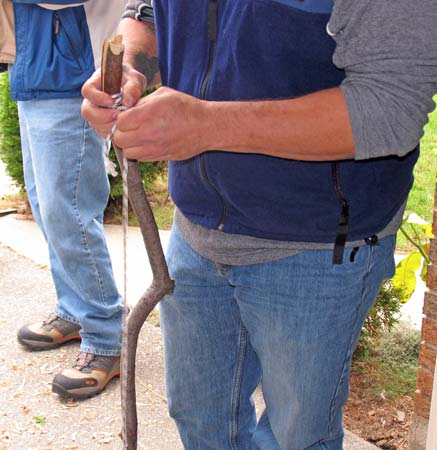 |
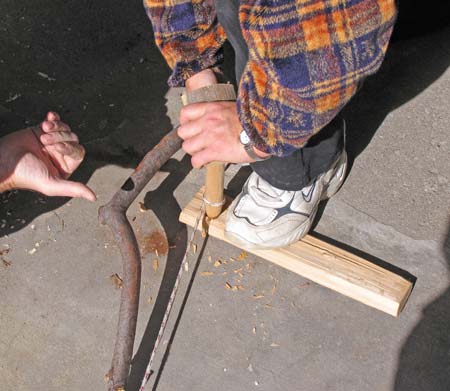
The bow is relatively easy (this is
one part that's not made from the cedar fencepost). Find a sturdy
stick or branch with a slight bend in it. Affix a strong cord to
each end, leaving some free play in it so you can wrap it around the
spindle when you're ready.
Some people prefer to split the end of the stick and place the
cord through the split. The drawback of this is that the split will
gradually widen and deepen, causing the cord to become looser as you
go. |
|
|
|
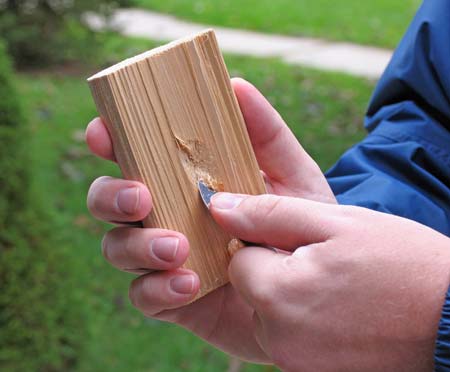 |
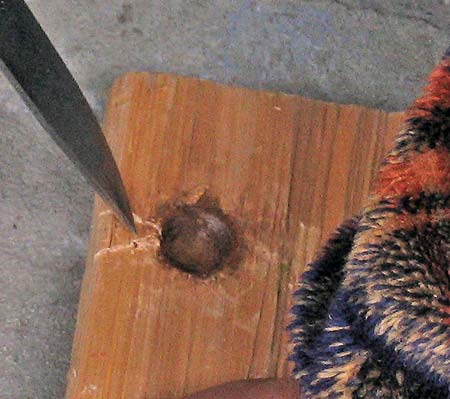
Construction of the handhold. Please
note that he is not using the knife properly in this photo. However,
it is necessary to carve an indentation in the center of the
handhold. Do this carefully! The indentation needs to be deep
enough to hold the pointed end of the spindle, without it slipping
out.
Note that the handhold is a small piece of the chunk that was
sawed off the fencepost earlier. It is about 6" long or so. |
|
 |
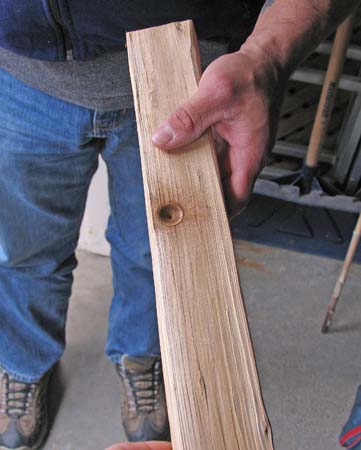
The next step (you don't have
to prepare the pieces in any sort of order) is to carve out the
fireboard. It should be about 1-2" thick, and can be the full length
of the chunk of fence post. The bottom surface should be relatively
flat so it won't wobble when you're using it. After making the
overall shape of the fireboard, the next step is to create the hole
and notch in it. The notch is done AFTER the burning in (more about
this farther along).
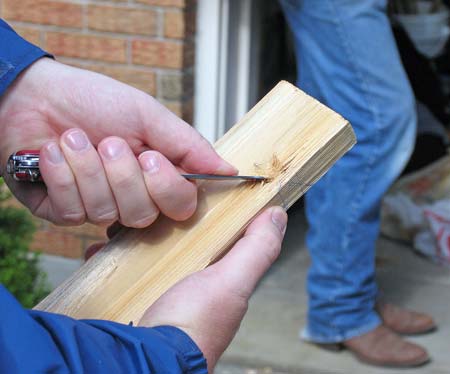
Here the indentation is being started. It's carved the same way as for the
handhold. Work with your knife carefully here, it's easy to slip and
gouge your hand badly.
The center of the indentation should be about 1-2" from the edge
approximately. This photo also gives an idea of the thickness of the fireboard. |
|
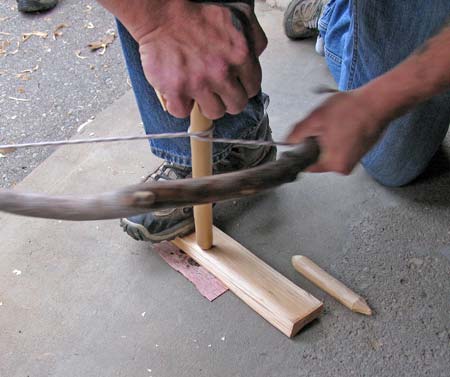 |
The next step is the burning in. "Burning in" refers to the process of operating the bowdrill in
order to make the top and bottom parts of the spindle mate with the
handhold and fireboard smoothly. It is an essential step prior to
actually trying to make fire from the bowdrill. You perform the
burning in once you've completed all the pieces, but BEFORE you
carve the notch in the fireboard. |
|
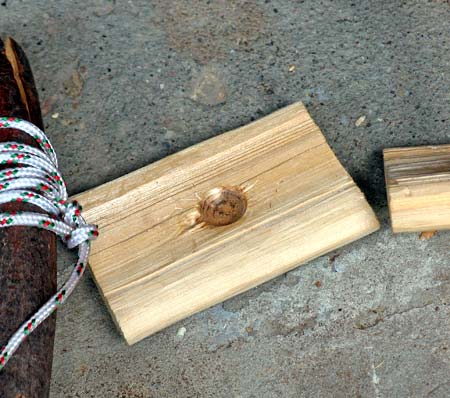 |
A finished handhold, after the burn-in. |
|
 |
Here is a fireboard with a completed
indentation that has been burned in. |
|
 |
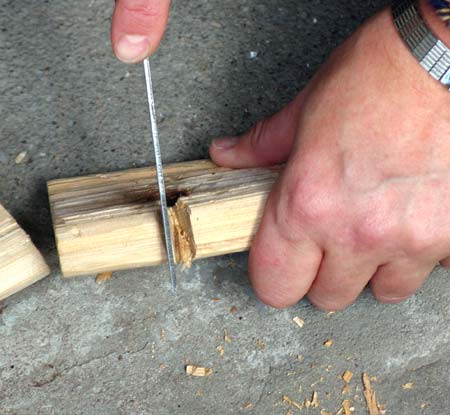
The next step is to cut the notch in
the fireboard.
Outline the cuts on the side of the fireboard. The notch should be
in the shape of a fairly narrow "V". Outline the notch on the top of the
fireboard as well.
Then carefully cut out the notch. Again, be careful with you knife!
The point of the "V" should end just before the center of the
indentation when you're all done. |
|
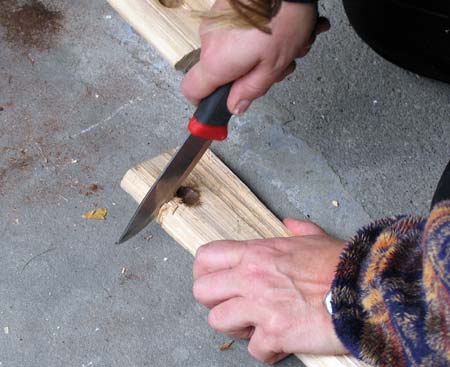 |
Cutting the notch.
If you're working this close to concrete be careful you don't
wreck your knife.
|
|
 |
Final steps of cutting the notch. |
|
 |
And now you're ready to try for fire!
Good luck! |
|
| |
|
... Back to Page 1 |
|
|
|
|

