 |
|
|
|
|
|
Home →
Survival →
Fire →
Fire From Ice
Fire From Ice: The Trail of
Learning Part I
Allan "Bow" Beauchamp |
| |
| When we go into the bush and we think of doing traditional
fire starting, most of us would not think of starting a fire from ice! Fire
from ice was a skill that I had always wanted to learn. It seemed a natural
process for me with all of the fire starting skills I had worked with over
the years. (See Two Stone Fire
Starting,
Knife and Stone Fire Starting, and
more). Learning to
make a fire from ice started a long time ago for me; learning this skill was
on my list of "to do's." It did not start as just a "magnifying glass idea"
for fire starting! It started very differently for me!
We are starting to see many people that are interested fire starter
techniques as a primitive skill. Learning new skills are always good, and
working with them is even better. As I always say: "Practice, practice,
practice! And you will get good results."
I try to be as natural as I can, and fire starting from ice had to be
just that way! If you can go into the bush with just your knife, and use
your skills -- that to me is natural! It can be said that taking a knife is
not natural in the bush, but what does it take to craft a stone knife? Not
much! That is how I begin my fire from ice learning curve!
I have tried for years to understand and see just what these ideas could
be, and what this primitive skill of fire from ice could actually be! There
is not a lot of information on the subject, so, to go research it or go talk
to someone about the right ideas for this technique made my "options"
limited!
However, as always, I went into the bush, and listened. If you sit in the
bush long enough, and think about how to do something -- let nature steer
you to where the best answer is -- then, you will hear your answer. I did
just that!
I had thought fire from ice was about crafting a lens made from ice! But,
how would it all work? What would I use? How thick would it have to be? What
type of lens would I have to craft? What are the principles that make it
work? There were a lot of questions to this primitive fire starter. |
| |
|
Photo 1
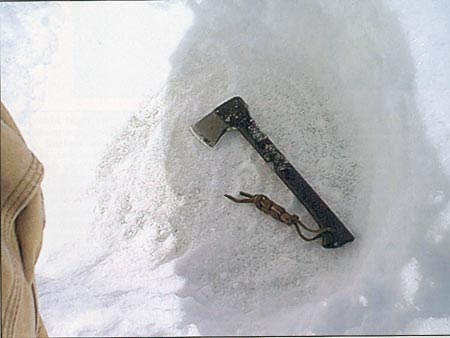 |
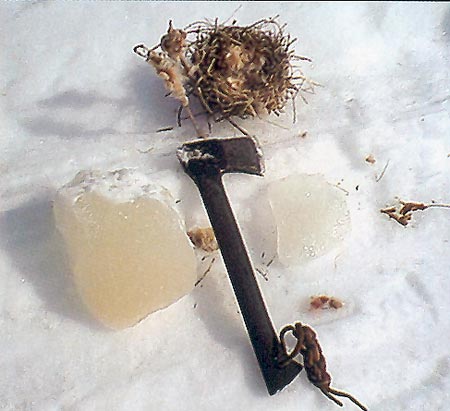
But, I had to start somewhere. In
Photo 1, you can see initially that I need to find some
ice. On this particular trip, it was at the swamp. I went down
to the pond, and with my hatchet and knife started cutting a
circle in the ice. At this point all that I had wanted to
accomplish was to cut out a piece of ice, and make some sort of
lens. Then, I would see where my ideas were going to go from
there. If the lens turned out to be good, I would have fire.
Sounds simple enough? At this point, I was not sure of the
size of the lens that I would need to make. So, I wanted to get
a large piece of ice to work with. And, if crafting it initially
had failed I would have a second piece to craft again. |
|
|
Photo 2
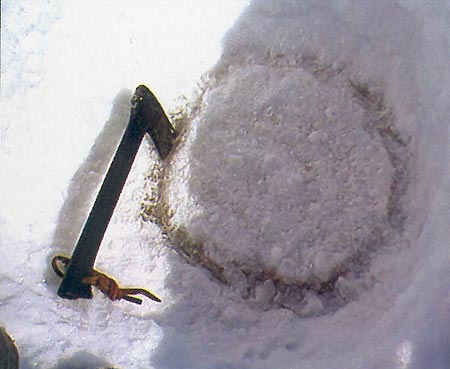 |
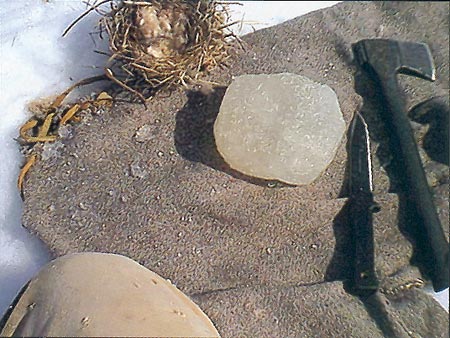
Photo 2 shows me cutting
down in the ice only going so far. Then, I would try to cut out
a piece of the ice as a whole block. I felt that this size would
be a good to work and craft with, and it would offer lots of
room for mistakes. |
|
|
Photo 3
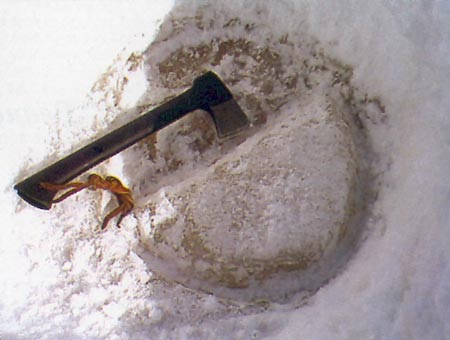 |
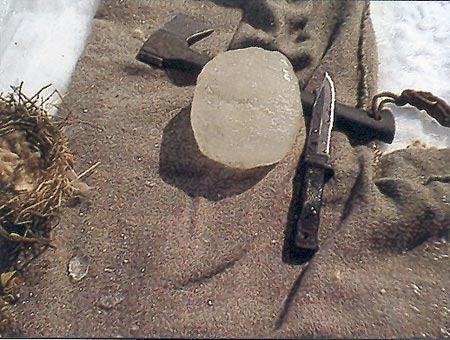
You can see how I had started to
get the chunk out. Photo 3. I am trying to undercut the
chunk of ice from the side of the piece I took away, and trying
to keep the big chunk intact. |
|
|
Photo 4
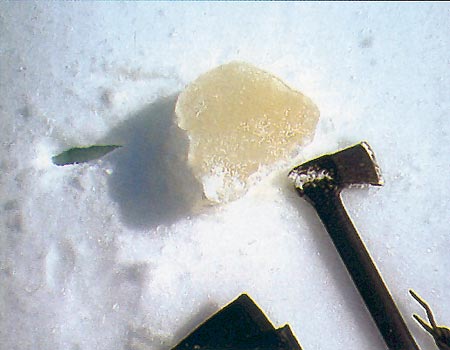 |
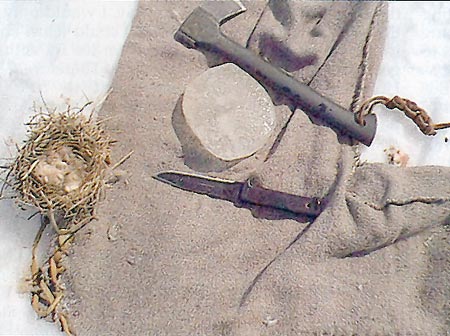
I found that this process was not
easy. If the ice was hard, it would come out easy, but if it had
any weak spots, the piece would break up too easily. So, a
bigger chunk is the way to go. If it breaks off, you will still
have something to work with. Photo 4 shows the piece
that I took out of the ice. It was intact when it was removed,
and is a good size to start crafting. However, the clarity
within this piece is not really there. But, I thought that I
would craft a lens first, and do some fine-tuning when I
finished it. I figured that I would use these ice chunk pieces
to make some different sizes and styles, and sort of get a feel
for it. |
|
|
Note that the texture of the ice does not look like it would offer any good
refraction at all at first glance, or even offer a clear lens to work with.
However, I am always optimistic. I never say, "it will never work." I just
try it, and see what happens. This piece of ice that I cut out was a
learning piece anyway. I would only see what I could learn about fire from
ice by actually trying it. Therefore, I did not want to rule out anything
just yet. As you craft each lens, you will learn a lot, trust me. |
|
|
|
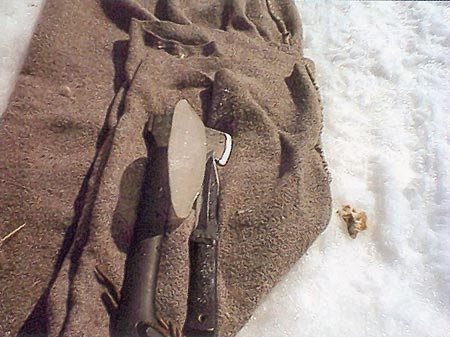
Photo 5
 |
I took a smaller chunk off the
bigger piece. Photo 5. This will give me a more
manageable and workable piece to experiment with. It does not
look like much yet, but I will try to make some sort of lens,
and see what lesson that I can actually learn by doing this
particular skill in the bush! I found initially, however, that
this was a very good size for crafting and was easily
manageable. So, perhaps you should start with this size, and see
where it takes you. |
|
|
Photo 6
 |
In Photo 6, I have started
the process of trying to make some sort of form to get my lens
into shape. My goal was to make something that might resemble a
lens of sorts. I had many questions when I was trying to learn
this skill. I had never even heard of anyone ever trying it.
Questions like: What would be needed to craft a lens? How would
I take this crafted lens and make fire? What would it take for
the sun's rays to make my fire? What angles did I need with the
ice lens? Did the different textures of ice offer any clues?
And, the list went on...
At the beginning, I had initially tried to make what I
thought would look like a sort of magnifying glass. I felt that
this would at least give me a baseline. |
|
|
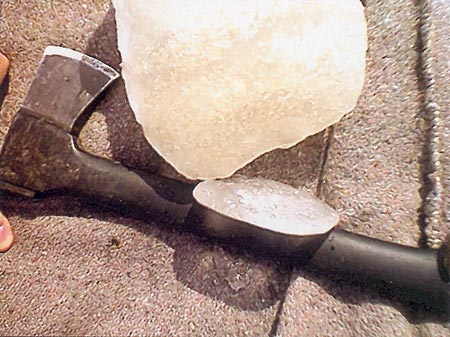
Photo 7
 |
In Photo 7, I am trying to
craft what I would think at this point in the learning curve of,
how a lens should be, and what might really work, all the while
trying to duplicate the ideas of a magnifying glass styled lens.
I still kept asking asked myself if this would actually work.
Perhaps, the suns rays, when they pass through the piece of ice,
get too cold, and will not be strong enough to all for enough
heat to generate. As I went along, some of the answers become
clearer. Trying is learning!
As you can see in the photo so far, my hand lens is not very
transparent. You cannot see my hatchet handle. It was still too
thick, but on a warm day, it can not be too thin either. |
|
|
Photo 8
 |
So far, I have reduced the size
somewhat (Photo 8), not only in diameter, but also in
thickness. You can also see that the lens is now starting to
become somewhat clearer. I had wondered if the ice you selected
really did not matter. Initially it looked " dirty," but now, it
seems to be clearing somewhat. |
|
|
Photo 9
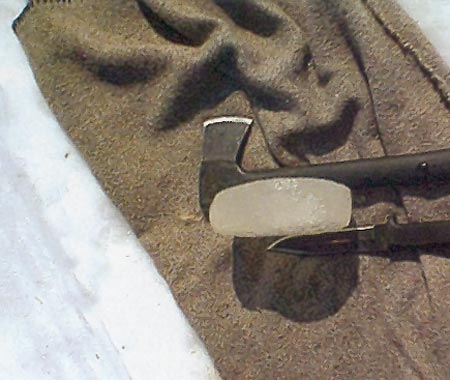 |
Photo 9 shows the thickness
that I have tried to keep. I still was not sure how thick the
lens should be, but I figured, thicker has to give more leaway.
If it was going to work, I would need to have the sun. This day
indeed had that, but, as a piece of ice sitting out in the open,
it would not last long. It was melting away as I worked. I
wondered if working very fast was the answer. You would not have
a lot of time to make a fine-tuned lens on a hot day, and have
it stay around. I made the choice for thicker dimensions. |
|
|
Photo 10
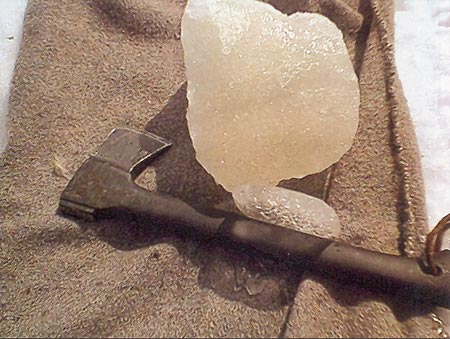 |
Photo 10 shows the clarity
of the piece of ice. I still does not seem very clear. However,
when compared to the initial piece taken from the pond, there is
definitely a change. There are also a lot of "air pockets." Now,
I wondered how this would affect the finished lens' strength. |
|
|
Photo 11
 |
The piece of ice started changing
its color and texture, and seemed to be getting clearer.
Photo 11. As we all know, a magnifying glass does work well. |
|
|
Photo 12
 |
I started to make the lens
somewhat concave and convex. Photo 12. |
|
|
|
|
Part I
Part II
Part III |
|
|
|
This article originally appeared in
Wilderness Way magazine, Vol 8, issue 4
Text and Photos Copyright © by
Allan "Bow"
Beauchamp |
|
|
|
|
|
|
|
|

