|
|
Home →
Survival →
Shelter →
Snow
Wildwood Trackers' Snow Shelter
February 2003 |
|
|
|
This is a report on the February 2003 meeting of the Wildwood Trackers club. At this meeting the participants constructed a snow shelter. This
page documents the steps taken and techniques employed to make this
shelter. |
|
|
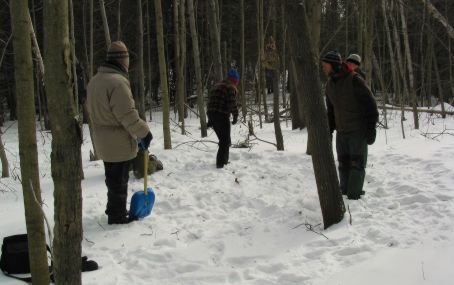 |
First, we prepared the site of the shelter by scraping away the snow
that was there, and using it to start the pile. We had to break up the
snow, as it had crystallized during previous warm weather. |
|
|
|
|

|
We used two shovels and our feet.
Here's the beginnings of the snow pile.
|
|
|
|
|

|
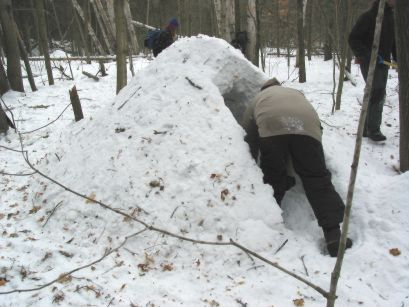
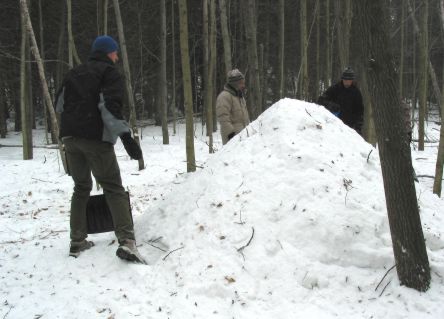
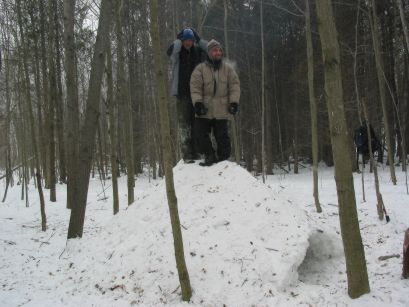
We piled snow up to a height of about 3 feet. It was
our intention to make a "demonstration" shelter, rather
than one large enough to accommodate us all.
Here's the finished pile of snow.
We let this sit for about an hour, while we went off
and explored and ate lunch.
During lunch we found the first of two porcupines we
saw that day. Plus lots of deer tracks & scat, porcupine tracks
& scat, ruffed grouse tracks, and more. A great day for
tracking!
|
|
|
|
|
When we came back we found the snow pile had solidified enough to
start digging out the shelter.
|
|
|
|
 |
The method we chose was to excavate the snow from the interior
through a large "rear" door that would later be closed back
up. |
|
|
|
|
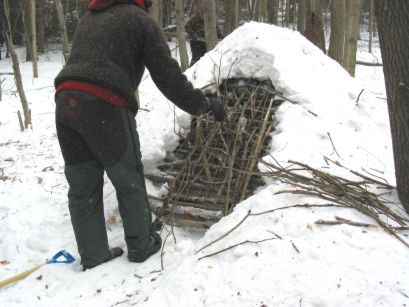
The "rear" door was closed back up after most
of the interior excavation was completed, using a cross-thatch of
sticks and branches.
|
|
|
|
 |
Snow was then scooped back on top of this
"door" to close it up.
Here the temporary rear door has been fully covered up with snow. |
|
|
|
|
|
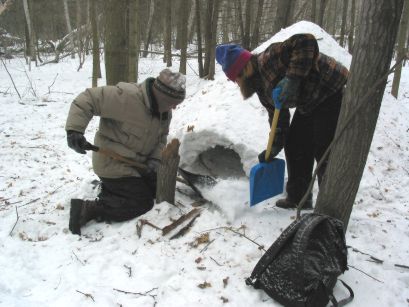
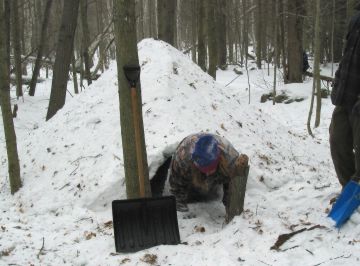
The next step was to dig out the small entrance doorway
at the other end of the shelter. The snow that was scooped out
through the "rear" door in the pervious step was piled up
at this end to create a small tunnel for the entrance.
|
|
|
|
|
A small
entrance helps to keep the wind out and the heat in, but of course
makes it harder to excavate the shelter!
|
|
|
|
 |
There's a trade-off between having a small entrance to keep the wind
and cold air out, and having an entrance that's large enough to crawl
in and out of the shelter without getting too covered in snow.
Perhaps this entrance is a tiny bit too small.
One way to deal with this is to make a door out of snow, ice, or
something else that can be closed behind you when you crawl in.
**Don't forget to make some air holes with a long stick!!
|
|
|
|
|
|
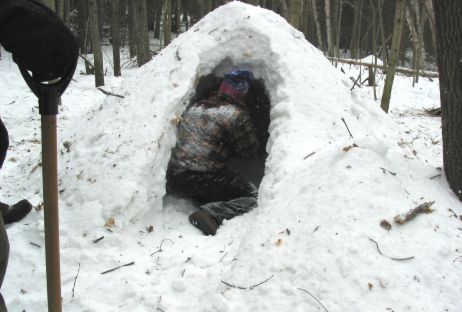
Done!
|
|
|
|
|
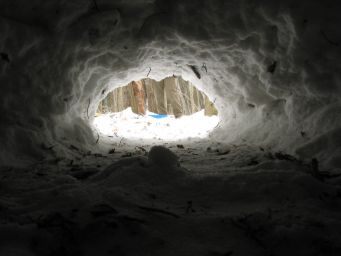
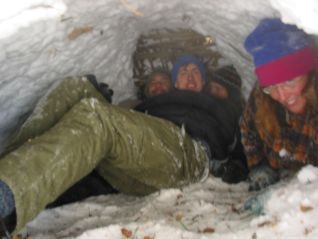
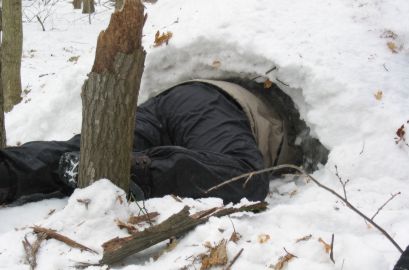
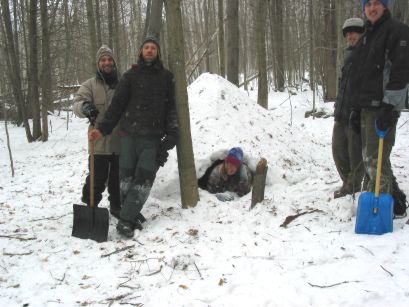
Here's a view from the inside (L) and of four people inside
the shelter. We could have fit all 6 of us inside, no problem.
|
|
|
|
|
|
|
Snow shelters are stronger than you think! We tried having 3 people on
top, but it collapsed.
|
|
|
|
|
|
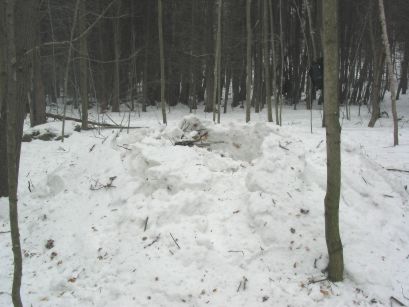
After it collapsed, we disassembled it completely, in order to reduce
signs that we had been there. We were in an area that people sometimes
walk through, so we wanted to remove signs of our project in order
that their nature experience would not be impaired.
This picture shows the beginning of the disassembly process.
|
|
|
|
|
|
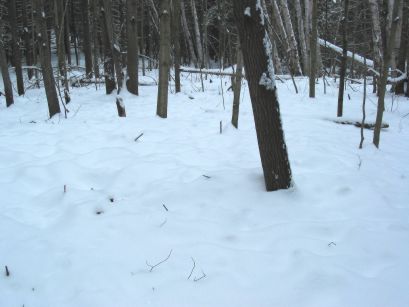
Two days later, here's what the site of the shelter looked like. It
had snowed a few inches, which helped to erase the signs of the former
shelter.
|
|
|
|
|
|